Friday, October 26, 2012

Building The Candy Drawing

Look at this progression to get to the final version of the candy drawing....

Create thumbnail sketches to plan out the basic composition....


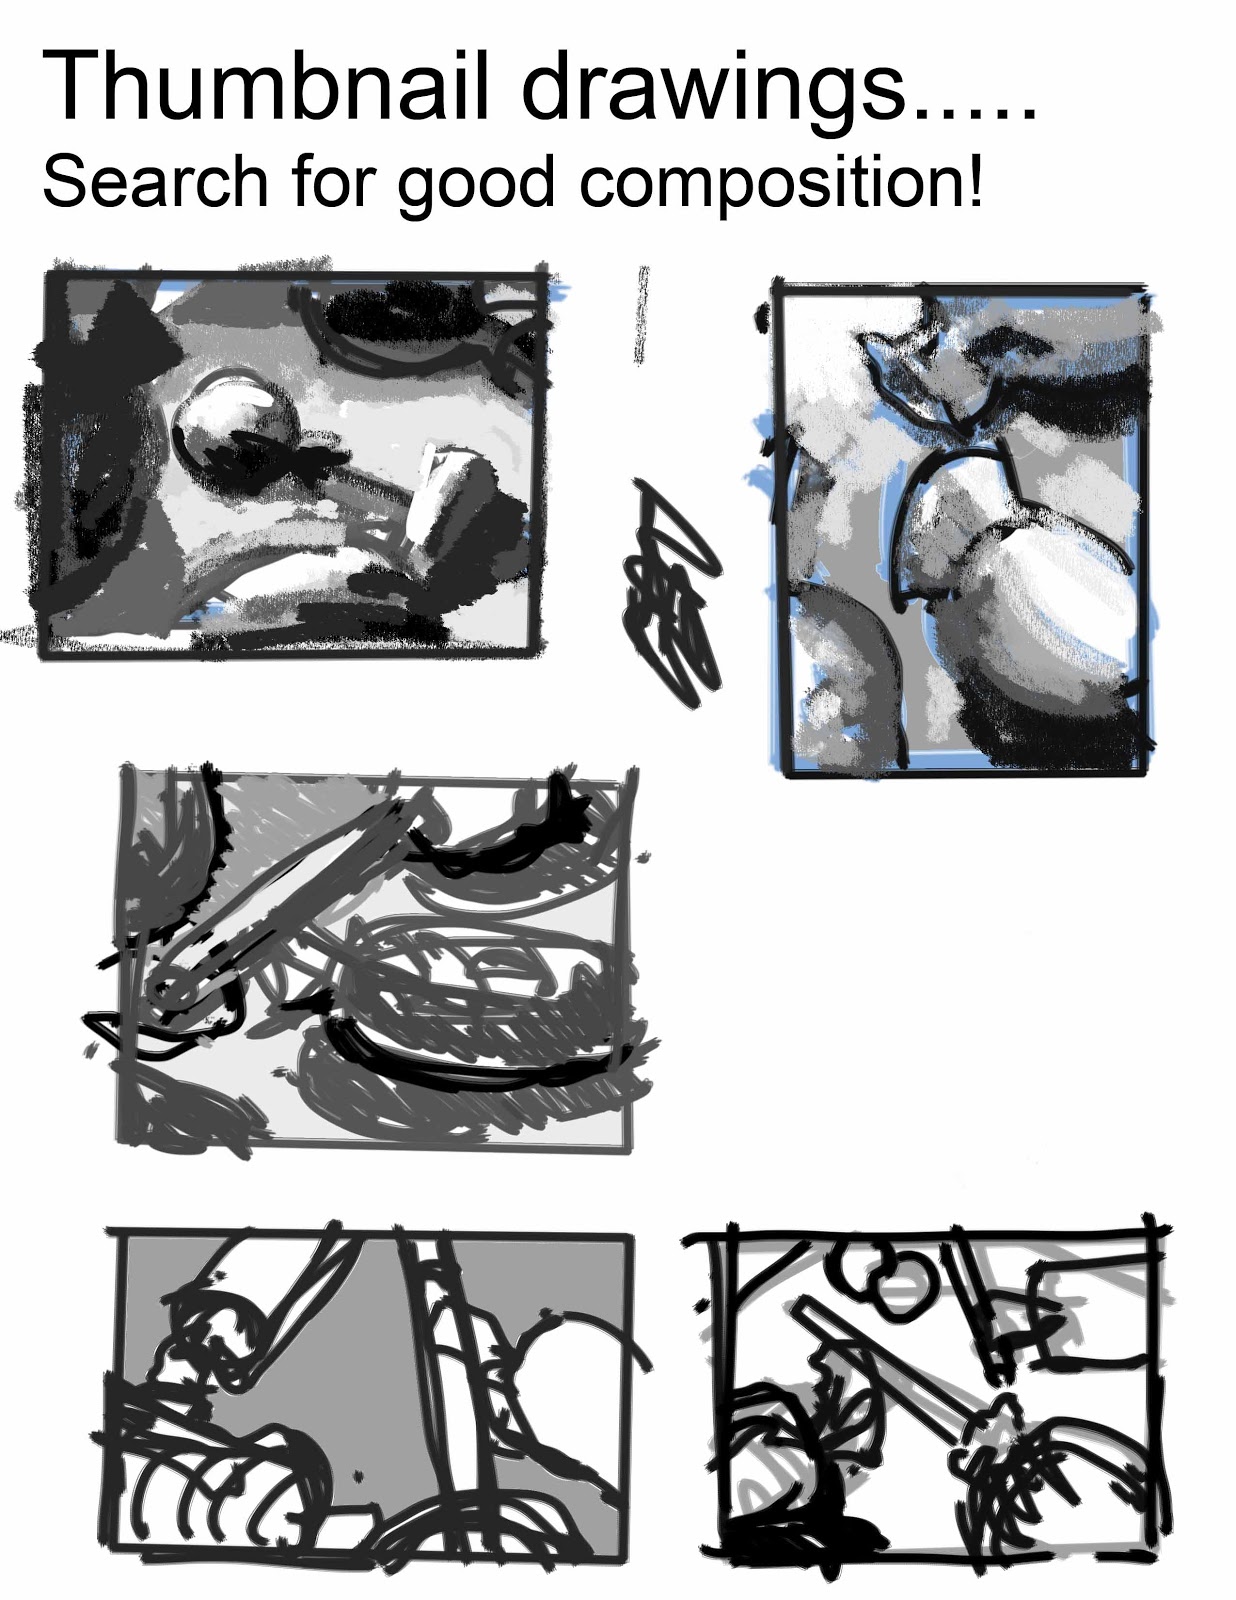
Choose the best thumbnail and enlarge it to fit the paper size for the final....


Set up layers to keep the thumbnail separate from the color work....


Use brushes designed to make "broken color" style marks...... build up layers of color and value....


Sunday, October 14, 2012

For Monday Oct. 15th- I'm out of school

Hello guys,

Sorry to be out today. You have several things you could work on:

• Complete the self portrait (push to show form and textures)

• Did you do the twisted paper homework? Pass it in, or crank it out today!: -)

If those are done, consider doing some work to sharpen your skills at SHADING and drawing FORM

Work on paper with graphite, or on the computer with Photoshop....... create a drawing to show FORM (roundness) using a range of VALUES...... draw an object in the room, or even from a photograph off the web! Practice, practice, practice!

For inspiration, check out some of these artists, notice how "3D" their work looks:

http://weburbanist.com/2010/02/15/dazzling-digital-illustration-15-artists-to-watch/


 these are by Craig Mullins


Wednesday, October 10, 2012

Creating Brushes Starter

Let's dig in to Photoshop's ability to make custom brushes....... Here's the directions.

You will be working with the "Select by color range " command...


Here's the control panel for the tool..... notice the fuzziness slider.


And you will use the brush control panel..... Do you see that the "Dual Brush" is turned on?


Make one sheet of samples of your brushes....


And a sheet demonstrating how they work...